
Last Updated on September 23, 2026 by Fadila
How to do a Facial at Home! You don’t have to be a Pro to do facials at home. Follow this step-by-step guide to learn a few tips for pampering yourself in the comfort of your home.
While a professional facial delivers amazing results, an at-home facial can be a great (and budget-friendly!) alternative. It doesn’t involve pore extractions but focuses on pampering and boosting your skin. Think of it as an enhanced skincare routine. If you want to take the experience to the next level, get yourself a glass of wine
The key steps include cleansing, exfoliating, and masking. To amp up the experience, create a relaxing ambiance, include meditation, and take your time.
Estheticians recommend basic steps like gentle cleansers, chemical exfoliants for dry skin, and masks suited to your concerns. Indulge further with facial massage, steaming, and your favorite soothing music. Remember, leave professional extractions to experts.
Enjoy your DIY facial and the refreshed, glowing skin it brings!
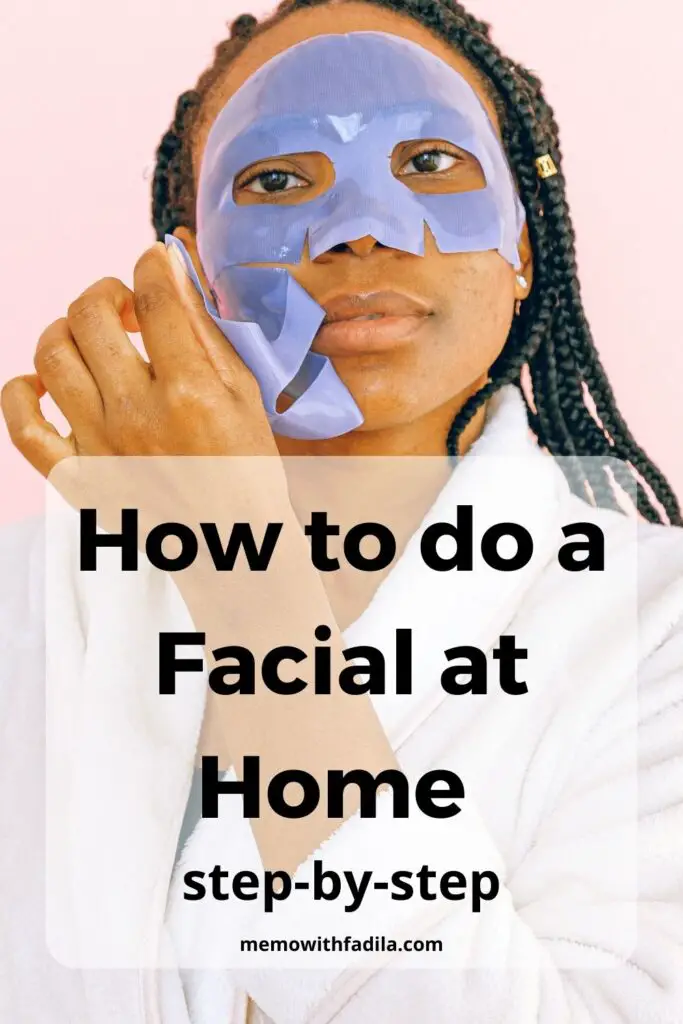
How to do a Facial at Home – step-by-step guide
Step 1 – Set your scene!
One reason we love facials is the spa-like ambiance. Stress-melting scents and soothing sounds can help us relax and unwind while our esthetician works their magic on our skin. But you can create a similar experience at home with a few simple steps. Set the scene the way you want your home experience to feel.
First, gather your favorite candles or diffuse essential oils to create a relaxing aroma. You can also put on some calming music to help you de-stress. Play with different scents and sounds to find what works best for you.
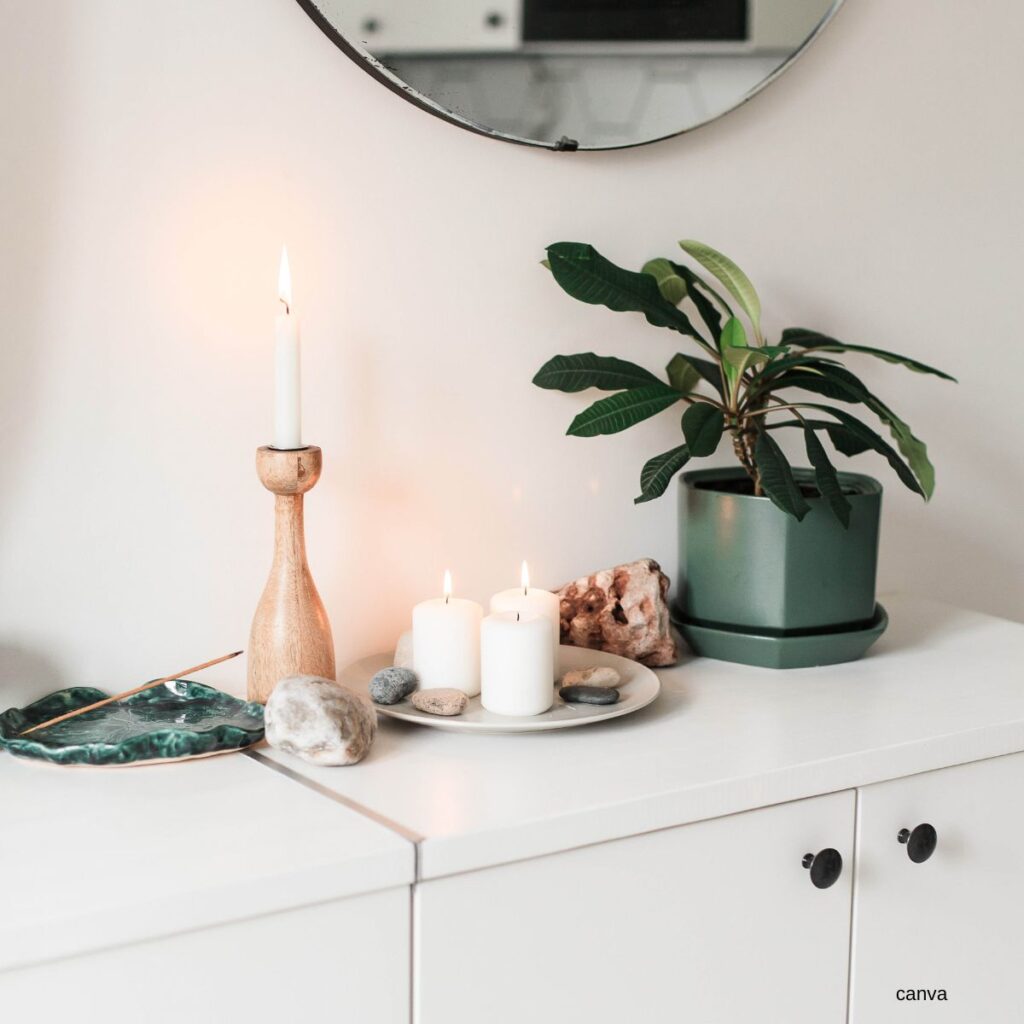
Then, gather your favorite product(s) and tools. Keep them close so you don’t get interrupted by having to look for products at the last minute.
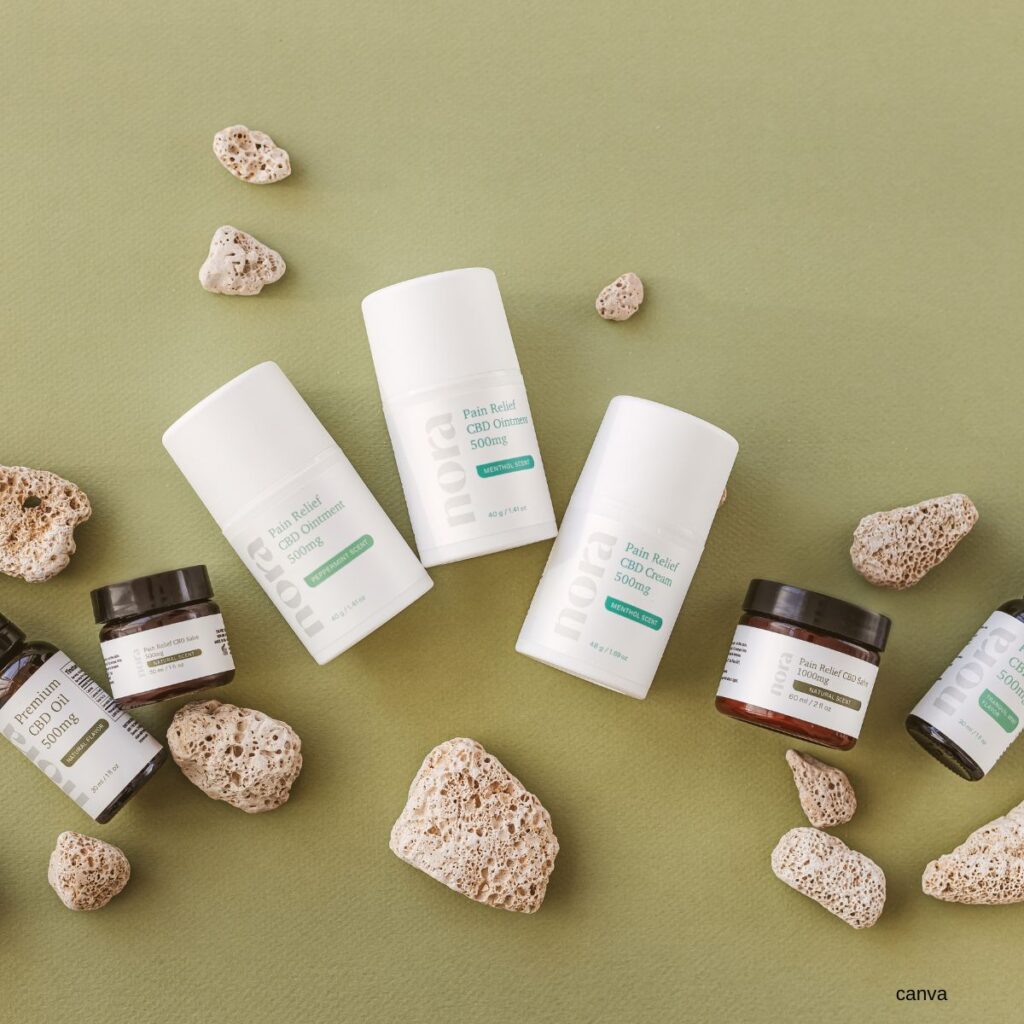
Step 2 – Now cleanse your face
Next, cleanse your face. Use double cleansing to ensure your face is free of dirt and makeup residue. Start by pouring some micellar water onto a cotton pad and swiping it over your face.
Then, apply a gentle cleanser to your damp face, and give it a 30-second circular massage. After rinsing your face with lukewarm water, pat it dry with a gentle cloth.
Step 3 – Steam
By expanding your pores and softening blackheads, steaming can help you remove them more easily. Pour some hot water into a large bowl and mix in a few drops of your preferred essential oil, like chamomile or lavender. For five to ten minutes, place a towel over your head and lean over the bowl. If you have one, you can use a facial steamer for this step. Be careful not to get too close to the hot water, as it can irritate your skin.
Step 4 – Exfoliate
After cleansing, treat your skin to a refresh! Removing built-up dead skin cells and excess oil allows your skincare products to penetrate better and work their magic. That’s where exfoliation comes in. Exfoliating will help improve your skin’s appearance.
Use a gentle, mild facial scrub and massage in circular motions for no more than 30 seconds at a time. If you’re unsure how to choose a scrub for your skin type, speak to a dermatologist. You can also make your own scrub at home.
Step 5 – Face masks
Exfoliating your skin before applying a face mask allows the mask’s ingredients to penetrate deeper, making it more effective. Choose the right mask for your skin’s current needs:
For oily, acne-prone skin: opt for a detoxifying clay mask to absorb excess oil and impurities.
Dry skin: you could replenish lost moisture with a hydrating mask packed with hyaluronic acid or ceramides.
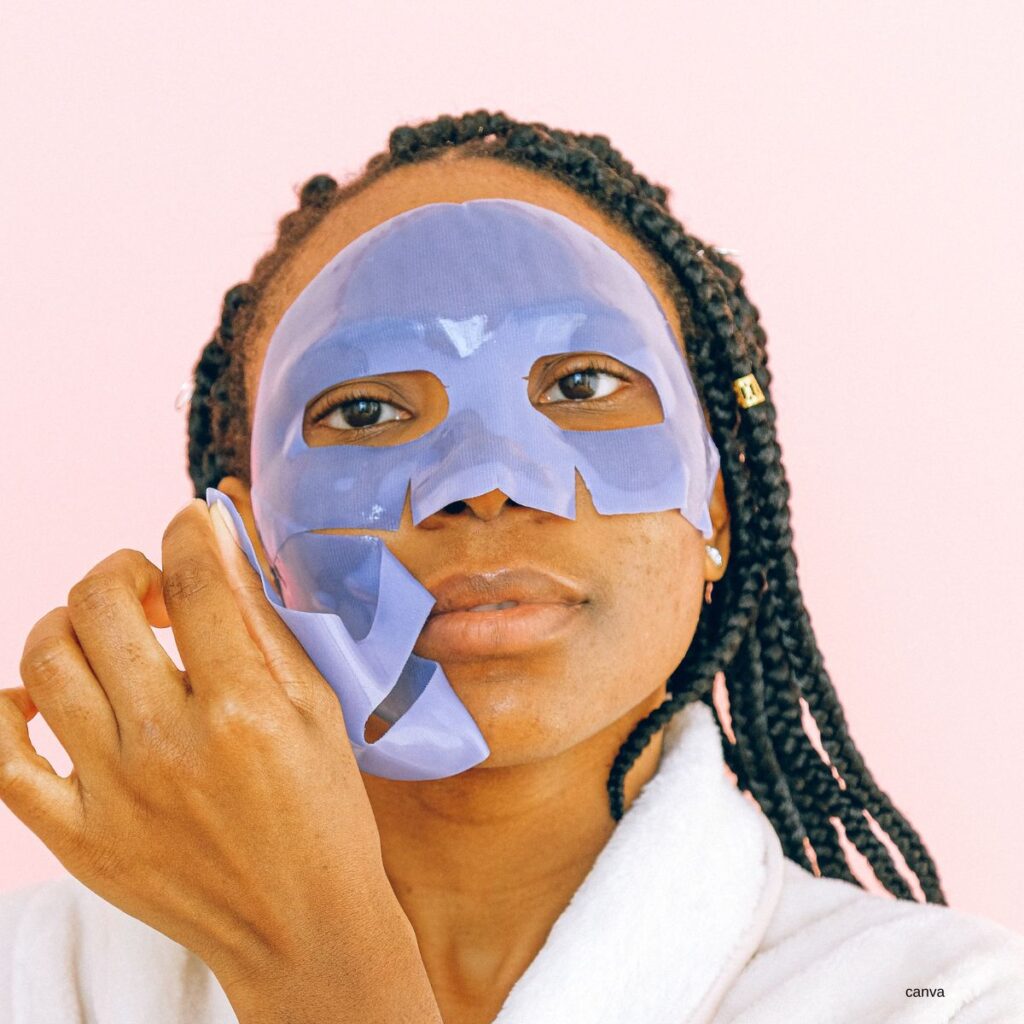
Other common concerns face masks can help address include:
Dull skin – brightening masks with vitamin C or AHAs can revive radiance.
Sagging skin – look for firming masks with peptides or collagen to boost elasticity.
Sun damage – soothing and repairing masks with antioxidants can help reduce hyperpigmentation and signs of aging.
Step 6 – Moisturize
After your facial, your skin can absorb maximum moisture and nutrients. For this step, apply eye cream under your brow bone and around your eyes, plus the inner area by your nose.
Then, choose the right product for your face to seal in the goodness. A simple daily moisturizer is ideal if you’ve had dark spots or acne treatments, as it won’t interfere with their effects. At the same time, a hydrating serum or night cream is perfect for an extra boost of moisture, especially for mature skin. Look for ingredients like hyaluronic acid, ceramides, or retinol.
The final step is to massage your face to lock in the moisture and improve blood flow for glowy skin. Whether you use a roller or your fingers, start at your chin and gently stroke outward toward your ears. Keep the pressure light and focus on drainage, not rubbing. Repeat this for all areas of your face.
Always consider your skin type and specific needs when choosing your post-facial moisturizer.
Remember to extend the TLC to your neck. Follow these simple exercises to tighten your neck skin.
Tips
- Be gentle when removing the mask. Don’t rub or pull, as this can irritate your skin. Instead, use a soft washcloth or wipe it off with your fingertips.
- Consult your esthetician for personalized recommendations.
- A gentle touch is key for effective facial massage.
On a lighter note
Doing facials at home can be affordable, convenient, and personalized, letting you choose products and timing to fit your needs. It’s also relaxing, promotes self-care, and can help you understand your skin better. However, professional expertise, advanced techniques, and time efficiency might make a professional facial a better option. It’s all about individual preferences.
What say you?
Now that you’ve seen the benefits of a facial at home, would you like to do yours from the comfort of your home?
Feel free to pin this post to your Pinterest board, share it on Facebook, and subscribe to the blog if you haven’t already. Thank you again, and I look forward to seeing you in my next post.

Leave a Reply